in future
There are 2 versions of this product available. Lower resolution and high resolution. We recommend to use low resolution, it’s much faster, takes less disk space and suitable for most projects, especially web projects. At any time you will are able to download high-resolution version also if you need.
In order to use mockup, you need to find ‘Change This’ layer in the layers panel. Double click on its icon. A new window will open. Insert your artwork in this window, then close it and save the changes. The design of the object will be updated.

In some objects it is possible to add a foil. To do this, expand the folder ‘Foil’, select the desired foil color and insert your design, as well as in the usual mockup.

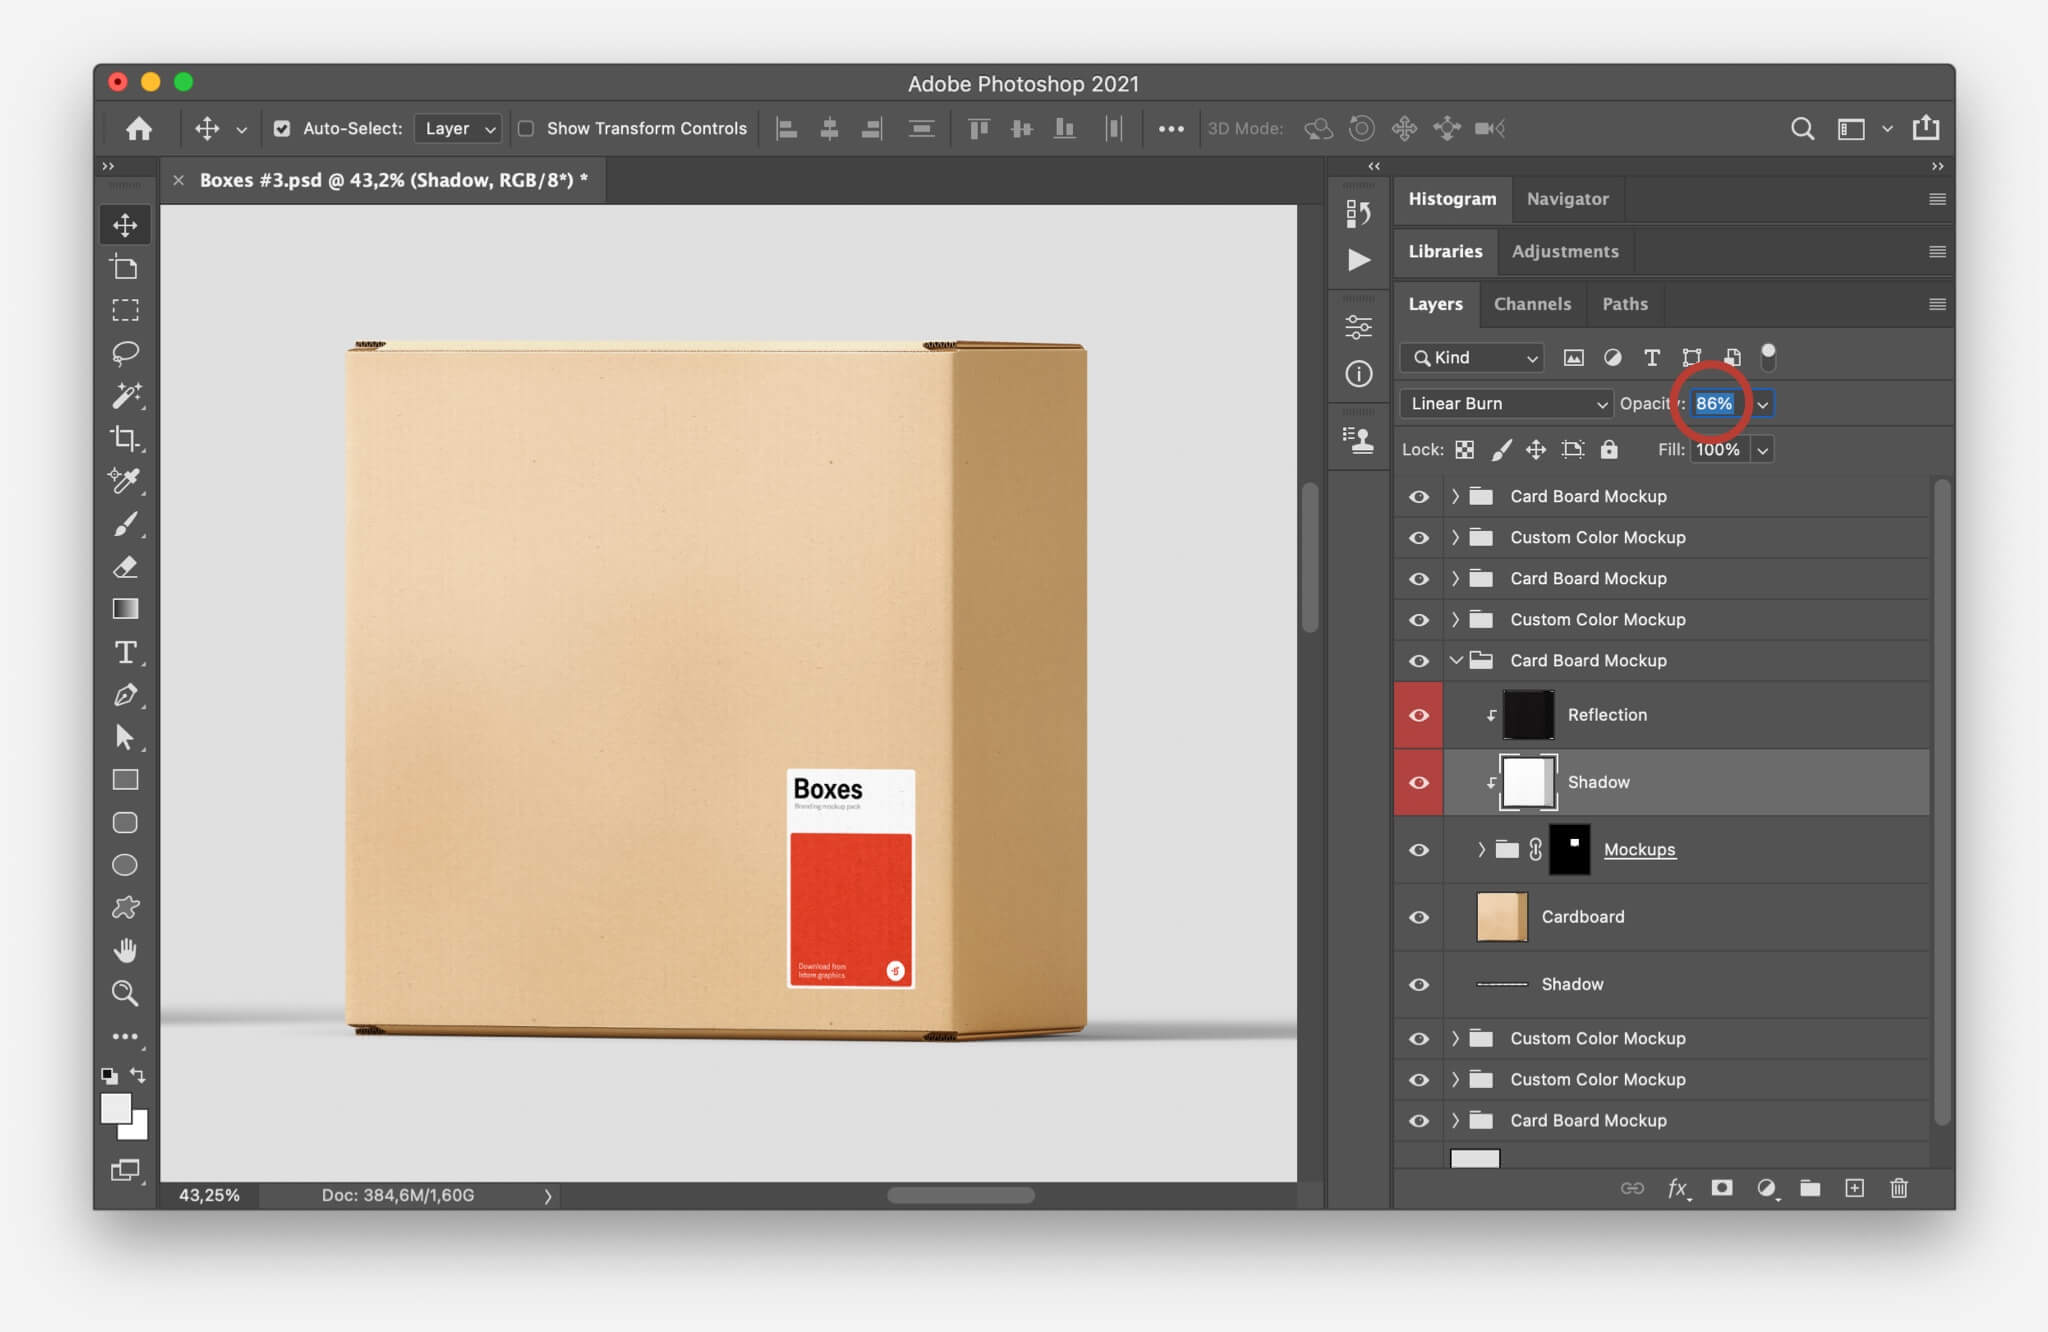
Change the opacity of ‘Shadow’ and ‘Reflection’ layers to fine-tune mockup.

The process of creating scenes is very simple. You simply drag objects into a new scene.
To get started, open a few files with items. Create a new file or use pre-made scenes and just drop items that you need.

Each item is grouped into folders, select the ‘Move Tool (V)’ and in the top panel the Auto-Select: Group option. This makes it easier to select objects in the file and drag them into the scene.
You can add shadows to any of your top view scenes. Add shadow png to the top of layers and choose blending mode: Linear Burn. Decrease Fill value.

Also, you can add glowing effect. Add glow texture and set blending mode to Screen, then decrease Fill value.

Sometimes we use 3D mockups in Photoshop. This function allows you to insert a design in Photoshop and pull the texture onto the 3D model. Often this feature allows you to make more realistic shapes on mockups.To insert your design, double click on the "Change This" effect and insert your design. Then close and save the window.
.jpg)
If you have a Photoshop CC and upper version, but 3d is not working for you – make sure you graphic processor is turned on. Click CMD+K (Ctrl+K) and go to Performance tab. Make sure that checkbox under the Graphic Processor is turned on.
If the previous step didn't help, try resetting your Photoshop settings. To do this close Photoshop. Then press on Mac CMD+Control+Option and open it again. Message will pop up asking if you want to delete the Adobe Photoshop Settings file. Choose Yes.